
People absorb images much quicker and more efficiently than they do words. This is why it’s important to make sure you find the best way to shoot product photos that not only showcase the features of your products but also include those fine little details that customers look for when buying. Knowing where to start can be tricky, so the photography team at Big Cow Productions have put together his handy product photography guide that’s packed with fantastic tips that reveal how to get the very best shots of your products without spending a fortune in the process.
No high-end camera? Don’t sweat!
A common misconception when it comes to taking expert product photos is that you need professional and expensive equipment such as high-end DSLR cameras. Sure, having a better camera helps, but it’s not a must. More often than not, smartphone cameras of the day are more than up to the task of taking professional product photos, with a wide range of lens and filtering options available as standard.
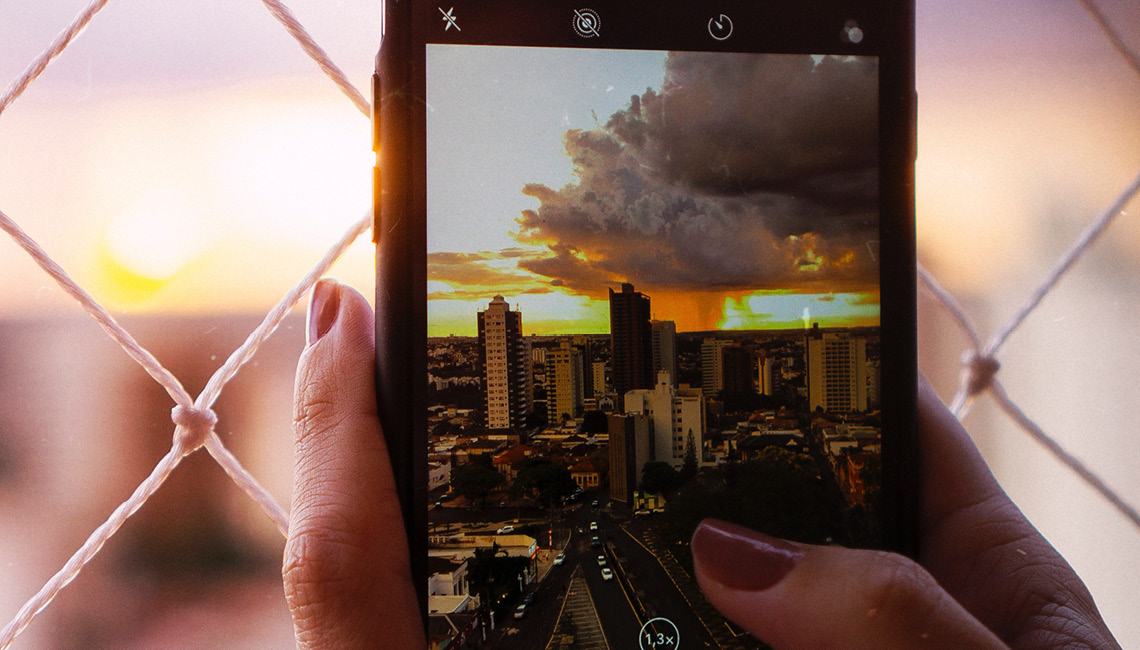
How to take good product photos with your phone
For starters, it’s good to make sure that your smartphone camera is at least 12MP (apologies to all the potato phones out there). The reason for this is that lower MP cameras don’t tend to pick up the finer details that can make the difference between a customer buying your product or not.
Another good practice (although somewhat common sense, too) is to make sure your lens is clean and smudge-free. For obvious reasons, this can mean the difference between good product photos and a blurry mess. Give the lens a soft wipe with a dry or damp piece of tissue or, even better, an alcoholic cleaning wipe. This ensures that your product photos will be clean, clear, and blur-free.
The final best practice is to become familiar with the settings and features of your smartphone camera before taking product photographs. Most smartphone cameras come with a wide range of features such as filters, different temperatures (not that kind of temperature!), and portrait mode. All of these features, when used correctly and experimented with, can make the difference between a warm, inviting and professional product photo or an image that looks to have been taken by an angsty teen.
Use a tripod for stability & consistency
Although we mentioned that you don’t have to necessarily have to have professional and expensive equipment in order to take good product photos this does not mean that you shouldn’t buy anything. If there is one single product we would highly recommend when planning your product photoshoot, it’s a tripod.
Makeshift Means There’s Risk!
The reason we say this is that using makeshift methods to prop up your camera or smartphone can be risky. What if the support that you are using shifts even slightly? This will mean that your pictures will not be consistent and may all look slightly different. If you spend hours finding the perfect angle and lighting composition, then the camera moves slightly, it may mess up your product photoshoot and mean the images do not end up looking as professional as what you had in mind.
Tripods Don’t Need To Cost A Fortune
Camera tripods can be relatively inexpensive, ranging anywhere from £10 all the way up to the hundreds. You can be sure to find a decent tripod around the £20-30 mark that is good quality and fit for purpose.
Traditional vs Flexible Tripods
When deciding between a traditional or flexible tripod, you must consider the requirements of your product photoshoot. For example, if you are shooting large items like furniture or wall art, it’s best to use a traditional tripod over a flexible one as they are generally taller and more rigid, keeping your product photograph at a comfortable eye level when being viewed.
Small Shots Need Flexibility
On the other hand, when shooting smaller items like food products, small toys, or small tech and gadgets, it may be better to opt for a shorter, more flexible tripod. The reason being is that the added flexibility allows you to easier adapt the angle of the product photo. Maybe you want to take an image looking upwards from the ground to emphasise the scale of your product? A small, flexible tripod will help you achieve this easier.
Preparation & Research Before The Shoot Is Key
Again, when deciding between a flexible or traditional tripod, it’s important to understand your product, target audience and desired outcome of your product photographs. Each scenario is different, so do a little research before you make your choice, study competitors images to see what works well in your niche and work to emulate that (whilst also being original, of course).
Natural vs Artificial lighting
Probably one of, if not, the most important aspect of your product photoshoot is the lighting. The two main types of lighting are natural lighting and artificial lighting. Like most aspects of product photography, it’s important to consider the requirements and goals of your product photoshoot to help determine which lighting is the best option.
1. Natural Lighting
Natural light, as the name suggests, is simply sunlight. It’s also referred to as “Soft Light”, this is because the sun casts a much broader and softer range of the light spectrum as opposed to an artificial light that comes from a lamp. After all, the sun is over 90 million miles away from us.
Best Situations Where Natural Lighting Shines:
-
- The product will spend most of its life outside in the sun. Things like garden furniture or cars are a good example of this, and using natural light is a true representation of what they will look like most of the time.
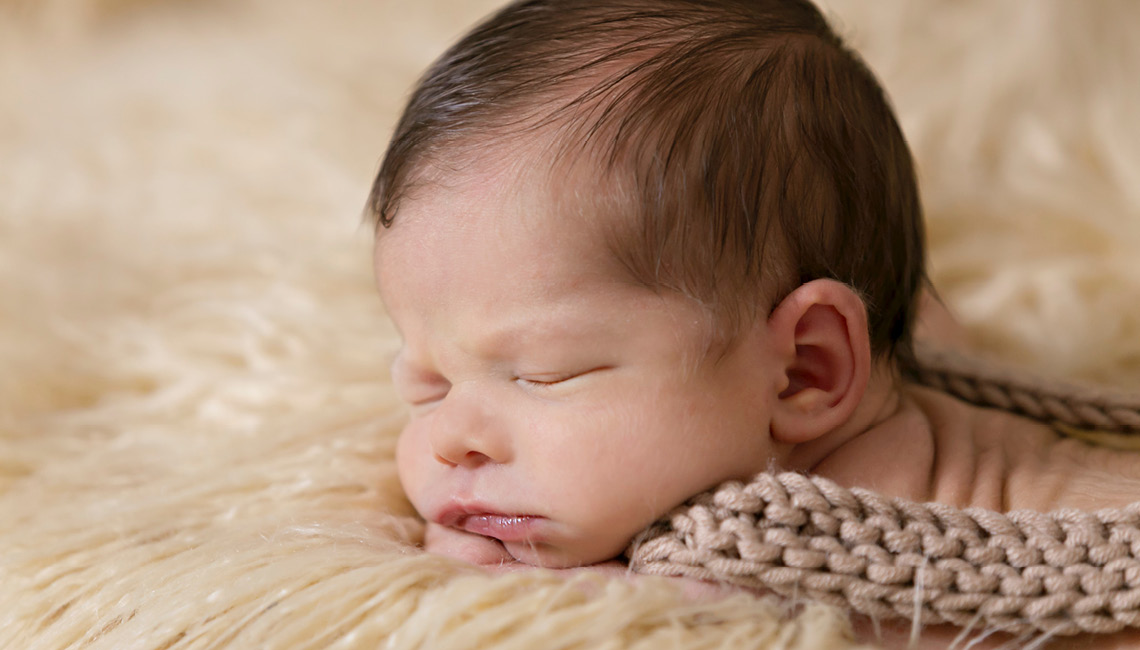
- The product is to be shot with a person – things such as clothes, jewellery, bags and the like. This is because people tend to look better in natural light rather than artificial light, making for a better and more true-to-life product photograph.
- You’re trying to include the product’s surroundings as part of your product photo – especially useful when trying to display your product in its natural environment. The natural lighting emphasises the surroundings, but not too much as to take away from the product itself.
2. Artificial Lighting
Artificial light can include fire, candles, lamps, flashes and anything that is not the sun, basically. In case you hadn’t already guessed, artificial lighting is also referred to as “Hard Light”, resulting in a smaller light surface that is more focused.
Hard light is best applied with products that require more emphasis on the finer details that customers are interested in. For example, jewellery, toys, watches and other things that have small details which may be hard to identify in soft light.
3. Pick one type of lighting, not both
It is the general rule that you should choose one type of lighting for your shoot and stick with it. Alternating between the two isn’t great as you can take away from your shoot by softening features that require focus, and vice versa, soft light can make an image appear less detailed than was intended.
Fill light and Bounce light
Fill and bounce light are two methods that lessen the hardness of the shadows cast by your product, especially when using hard light. Here are the three methods of adding bounce and fill light when taking product photos.
1. Fill Light
It’s often useful to supplement your main light with what is called fill light. Fill light can be used to counterbalance the shadow that is cast by your product when using the main light. Place your fill light opposing your main light, with your product in the centre of both light sources. These bounce cards are generally white or metallic in order to effectively disperse the light.
2. Flashbulb Bounce Card
The best way to reflect or bounce light effectively is by using a flashbulb bounce card. As the name suggests, these cards bounce the main light onto the surface beneath your product and reduce shadows.
Flashbulb bounce cards are made to attach to the flashbulb of a professional camera. The bounce cards work by spreading the light out and making it softer, negating the long shadow trails that may otherwise be left by direct exposure to hard light.
3. Standalone Bounce Card
For a cheaper and more hassle-free alternative to a flashbulb bounce card, you can opt for a standalone bounce card to achieve the same results. Even better, you can use a plain white piece of paper of foil to act as the bounce card.
You should position the standalone bounce card at on the opposing end of your main light source for it to effectively disperse the light and enhance your product photograph.

Emphasising your product: Sweep or Portrait Mode
Depending on how you want your product to be perceived by your potential customers it is important to consider your background. Whether you want a plain white background with minimal distractions or a more true-to-life background that showcases your product in natural surrounding, perhaps with a few supporting items, like displaying a pencil case with a few bits of stationery scattered around it.
1. Dynamic Background: Portrait Mode
When using a dynamic background, it’s important to make sure the surroundings do not take away from your product, which should be the focus of your product photos. This can be achieved by using portrait mode. Most high-end and smartphone cameras alike have a portrait mode option, so there is no real excuse not to use it.
Portrait mode works by focusing on your product whilst blurring the background. This means that your product stays in focus, being the centrepiece of the image, whilst the background is still discernible but does not take away from the product itself.
2. Plain White Background: Sweep
When aiming for a white background, it’s important to ensure that your background surface is free of blemishes and markings that a camera will pick up. Using a large white piece of paper that can be bent around the product, providing a clear, blemish-free white background that properly defines your product without distraction.
This is achieved by bending the paper up into a white wall behind the product, with the bottom of the paper acting as the surface of your product so that the image is uniformly white and clear, posing your product perfectly with no noise.
Shoot multiple different images
Despite the popular saying “quality over quantity”, it’s very important to shoot multiple different product photographs to capture your product in varying different ways. For example, shooting your product from different angles or at different stages of use, like photographing the inside of a rucksack to display the different compartments.
People like to see things before they buy, it helps them visualise how they would use the product in their day to day lives. That’s why it’s important to capture different perspectives and show your customers how they can use your product, it’s the next best thing to physically trying a product yourself.
Wrapping up
There you have it. Taking good product photos doesn’t have to be expensive. If you’ve got the professional gear then even better, use it. If not, then there are plenty of easy and cheap alternatives to take eye-catching photos that showcase your products and generate interest.
So, do a little studying, get your smartphone at the ready, and start taking professional product photos that drive home the benefits of your products and get people buying.
Interested in enrolling the photography or video product services provided by the creative media team at Big Cow Productions? Big or small, personal or commercial, let’s have a chat about your next video or photoshoot idea!